Beginner-Friendly Guide: What to Do When Your Car Won’t Start
If your car won’t start, don’t panic. This simple step-by-step guide will help you check the most common causes, including battery issues, starter problems, fuel delivery, ignition faults, and dashboard warning signs.

Step-by-Step Troubleshooting for a Car That Won’t Start
Follow these beginner-friendly checks to narrow down the problem before calling a mechanic.
1. Check the Battery First (Most Common Cause)
Simple Test: Turn the key or press the start button. If you hear clicking or see dim dashboard lights, your battery may be weak. Try turning on the headlights—if they’re dim or flicker, the battery likely needs charging or replacement. Clean any corrosion from the terminals and ensure connections are tight.
2. Listen for Starter Problems
Simple Test: If you hear a single loud click but the engine doesn’t crank, the starter motor could be failing. Try tapping the starter lightly with a tool while someone turns the key (only if safely accessible). If it starts, the starter may need replacement.
3. Make Sure You Have Fuel
Simple Test: Check your fuel gauge first. If you have fuel, turn the key to the “on” position and listen for a faint humming sound from the rear of the car. No sound could mean a failing fuel pump or blown fuse.
4. Check for Ignition Issues
Simple Test: If the engine cranks but won’t start, the issue could be spark plugs or ignition coils. A rough idle before the no-start problem is a common clue. Replacing spark plugs is often a manageable DIY job for beginners.
5. Watch for Dashboard Warning Signs
If you see a flashing check engine light, battery warning light, or security/immobilizer symbol, these may prevent the car from starting. Use an OBD-II scanner to check for stored trouble codes for more direction.
Why Changing Your Oil Is Important
Regular oil changes keep your engine lubricated, reduce wear, improve fuel efficiency, and extend engine life. Most vehicles need an oil change every 3,000–7,500 miles. Always check your owner’s manual for the exact interval.
When to Replace Parts or Call a Mechanic
If your battery is over 3–5 years old, consider replacing it. If the starter clicks repeatedly, replacement may be necessary. Fuel pump and ignition repairs can be more complex. Shop for quality replacement parts from trusted auto parts stores or contact a certified local mechanic for professional diagnosis.
-
Avoiding Common Mistakes in Auto Repair Projects
This paragraph serves as an introduction to your blog post. Begin by discussing the primary…
-

When to Call a Mechanic: Key Indicators
This paragraph serves as an introduction to your blog post. Begin by discussing the primary…
-

Maintenance Tips to Extend Your Vehicle’s Lifespan
This paragraph serves as an introduction to your blog post. Begin by discussing the primary…

Helpful Tools for How to Change Your Engine Oil (Beginner Guide) Diagnosis
Keep these tools on hand: jumper cables, a portable battery booster, an OBD-II scanner, a basic socket set, and a battery terminal cleaner. These affordable tools can save you time and money.
Quick Safety Reminders
Always park on a flat surface, use the parking brake, and avoid working near moving engine parts. If you smell fuel, see smoke, or feel unsure at any point, contact a professional mechanic immediately.

Brake Noise — What It Means and How to Fix It
This guide explains the different types of brake noises—such as squeaking, grinding, and rubbing—and what each sound typically indicates. Learn important safety warnings, step-by-step DIY inspection tips, and how to determine when it’s time to replace brake pads, rotors, or related hardware to keep your vehicle safe and performing properly.

• Correct type and amount of engine oil
• New oil filter
• Oil filter wrench
• Socket wrench (usually 14–17mm)
• Oil drain pan
• Funnel
• Jack and jack stands or ramps
• Gloves and safety glasses
• Shop rags or paper towels
How to Choose the Right Oil and Filter: Check your owner’s manual for the recommended oil viscosity (such as 5W-30) and oil type (conventional, synthetic blend, or full synthetic). Use a filter that matches your vehicle’s make, model, and engine size. When in doubt, confirm compatibility at an auto parts store.

Step-by-Step Oil Change Instructions
Step 1: Warm up the engine for 2–3 minutes, then turn it off.
Step 2: Safely raise the vehicle using ramps or jack stands.
Step 3: Place the drain pan underneath the oil drain plug.
Step 4: Remove the drain plug and allow the old oil to fully drain.
Step 5: Remove the old oil filter using a filter wrench.
Step 6: Lightly coat the new filter’s rubber gasket with fresh oil and install it hand-tight.
Step 7: Reinstall and tighten the drain plug securely.
Step 8: Add new oil using a funnel.
Step 9: Start the engine for 30 seconds and check for leaks.
Step 10: Turn off the engine and check the oil level with the dipstick, topping off if needed.

Safety Tips
• Never work under a vehicle supported only by a jack.
• Allow the engine to cool slightly to avoid burns.
• Wear gloves and eye protection.
• Clean spills immediately to prevent slips.
• Properly tighten (but do not overtighten) the drain plug and filter.

Why Your Check Engine Light Is On: A Complete DIY Troubleshooting Guide
When your Check Engine Light (CEL) turns on, it can mean anything from a loose gas cap to a serious engine issue. Understanding the most common causes can help you decide whether it’s a simple DIY fix or time to visit a mechanic.
Common Reasons Your Check Engine Light Turns On
1. Loose or Faulty Gas Cap
Symptoms: Light appears shortly after fueling, no noticeable performance issues.
DIY Check: Tighten the gas cap until it clicks several times. Inspect the rubber seal for cracks.
Fix: Replace the gas cap if damaged. Recommended part: OEM-quality replacement gas cap specific to your vehicle.
2. Faulty Oxygen (O2) Sensor
Symptoms: Poor fuel economy, rough idle, failed emissions test.
DIY Diagnosis: Use an OBD2 scanner to check for codes like P0130–P0161.
Fix: Replace the O2 sensor using an O2 sensor socket and ratchet. Recommended tools: O2 sensor socket set, penetrating oil.
3. Failing Mass Air Flow (MAF) Sensor
Symptoms: Hesitation during acceleration, stalling, rough idle.
DIY Diagnosis: Codes such as P0100–P0102.
Fix: Try cleaning first with MAF sensor cleaner (not brake cleaner). If unresolved, replace the sensor.
4. Bad Spark Plugs or Ignition Coils
Symptoms: Engine misfire, shaking, reduced power, codes P0300–P030X.
DIY Diagnosis: Scan for cylinder-specific misfire codes.
Fix: Replace spark plugs using a spark plug socket and torque wrench. If misfire remains, test or replace ignition coils.
Recommended parts: Iridium spark plugs, dielectric grease.
5. Catalytic Converter Issues
Symptoms: Rotten egg smell, loss of power, poor acceleration, code P0420.
DIY Check: Confirm upstream O2 sensors are working properly before replacing.
Fix: Usually requires professional service due to cost and labor.
6. Faulty EVAP System Components
Symptoms: No drivability issues, code P0440–P0457.
DIY Check: Inspect vacuum lines for cracks and check purge valve operation.
Fix: Replace damaged hoses or faulty purge valve.
How to Use an OBD2 Scanner at How to Change Your Engine Oil (Beginner Guide)
Step 1: Locate the OBD2 port (usually under the dashboard near the steering column).
Step 2: Plug in the scanner with the ignition on.
Step 3: Read stored trouble codes.
Step 4: Write down the codes and look up their meaning in the scanner manual or a trusted database.
Step 5: Clear the codes after repairs and drive the vehicle to see if the light returns.
Recommended Tools for DIY Diagnosis
• OBD2 scanner (Bluetooth or wired)
• Basic socket set
• Spark plug socket
• Torque wrench
• O2 sensor socket
• MAF sensor cleaner
• Multimeter for electrical testing
When You Can Fix It Yourself
• The vehicle runs normally
• The light is steady (not flashing)
• The issue relates to sensors, spark plugs, or minor EVAP leaks
• You have the correct tools and basic mechanical knowledge
When to See a Mechanic Immediately
• The Check Engine Light is flashing (indicates active misfire that can damage the catalytic converter)
• Severe loss of power or stalling
• Loud knocking noises
• Transmission shifting issues
• Persistent codes after attempted repairs
Final Tip
Never ignore a Check Engine Light. Even minor issues can reduce fuel efficiency or lead to costly repairs if left unresolved. With a quality OBD2 scanner and basic tools, many common causes can be diagnosed and fixed at home, saving you time and money.
Proper Oil Disposal
Pour used oil into a sealed container and take it to a local auto parts store or recycling center. Most locations accept used oil and filters for free. Never pour oil down drains or onto the ground.
AC Not Blowing Cold Air
If your car’s AC isn’t blowing cold air, several common issues could be to blame. Start by checking refrigerant levels, as low refrigerant is one of the most frequent causes. Signs include weak airflow and air that never gets truly cold. Use a recharge kit with a built-in gauge to check pressure levels, and only refill to the recommended range.
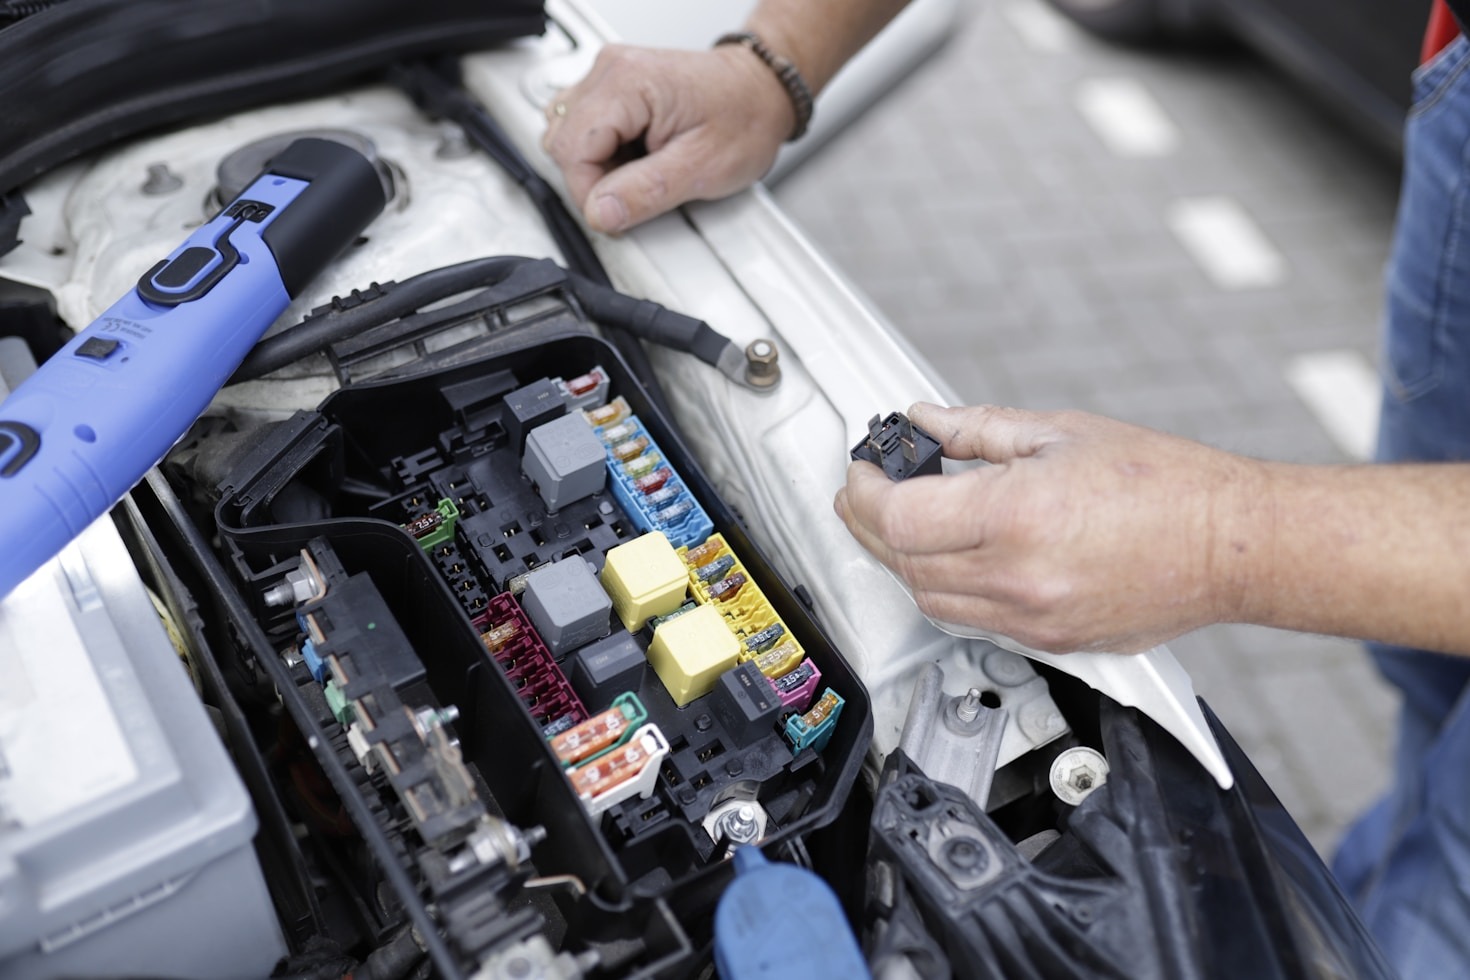
Next, inspect the AC compressor. With the engine running and AC set to max, listen for a clicking sound when the compressor engages. If it doesn’t engage, the issue could be a blown fuse, faulty relay, or a failing compressor clutch. Check the fuse box and replace any blown fuses before considering professional repair.
Leaks in the system can also prevent proper cooling. Look for oily residue around AC hoses and connections. Refrigerant leak detection kits with UV dye can help pinpoint small leaks. If you find a significant leak, it’s safest to have a certified technician handle the repair.
A clogged cabin air filter may restrict airflow, making the AC seem less effective. Locate the filter (usually behind the glove box), remove it, and check for dirt and debris. Replace it if it appears dirty—this is an inexpensive and simple fix.
Step-by-step DIY Check:
1. Start the engine and set AC to maximum cooling.
2. Check airflow strength and temperature.
3. Inspect and replace the cabin air filter if needed.
4. Check refrigerant pressure using a recharge kit.
5. Inspect fuses and listen for compressor engagement.
6. Look for visible leaks around hoses and fittings.
If these steps don’t resolve the issue, the problem may involve electrical faults or internal compressor failure, which typically require professional service. Always wear safety glasses and gloves when working around AC components, and never overcharge the refrigerant system.
• Full synthetic motor oil (for better high-temperature protection)
• OEM or high-quality aftermarket oil filters
• Heavy-duty oil filter wrench
• Low-profile drain pan for easier access
• Disposable gloves and absorbent mats
With the right tools and careful attention to safety, changing your engine oil is a simple and rewarding DIY task that saves money and helps your vehicle last longer.